Voltage Compatibility】
When using electrical appliances, please note that they are designed for Japanese voltage specifications (90-110V), so if you use them with a different voltage, it may cause a malfunction.
【Plug Type】
Our products use Japanese plug types (A or B type).
Please use a conversion adapter if necessary.
【Important Note on Transformers and Adapters】
A transformer adjusts voltage to match your device’s requirements.
A conversion adapter only changes the plug shape and does not adjust voltage.
Using only a conversion adapter without a transformer may result in damage to the product.
【Liability】
We are not responsible for malfunctions or damages caused by improper use, such as operating the product without a transformer.
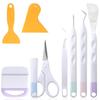
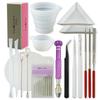
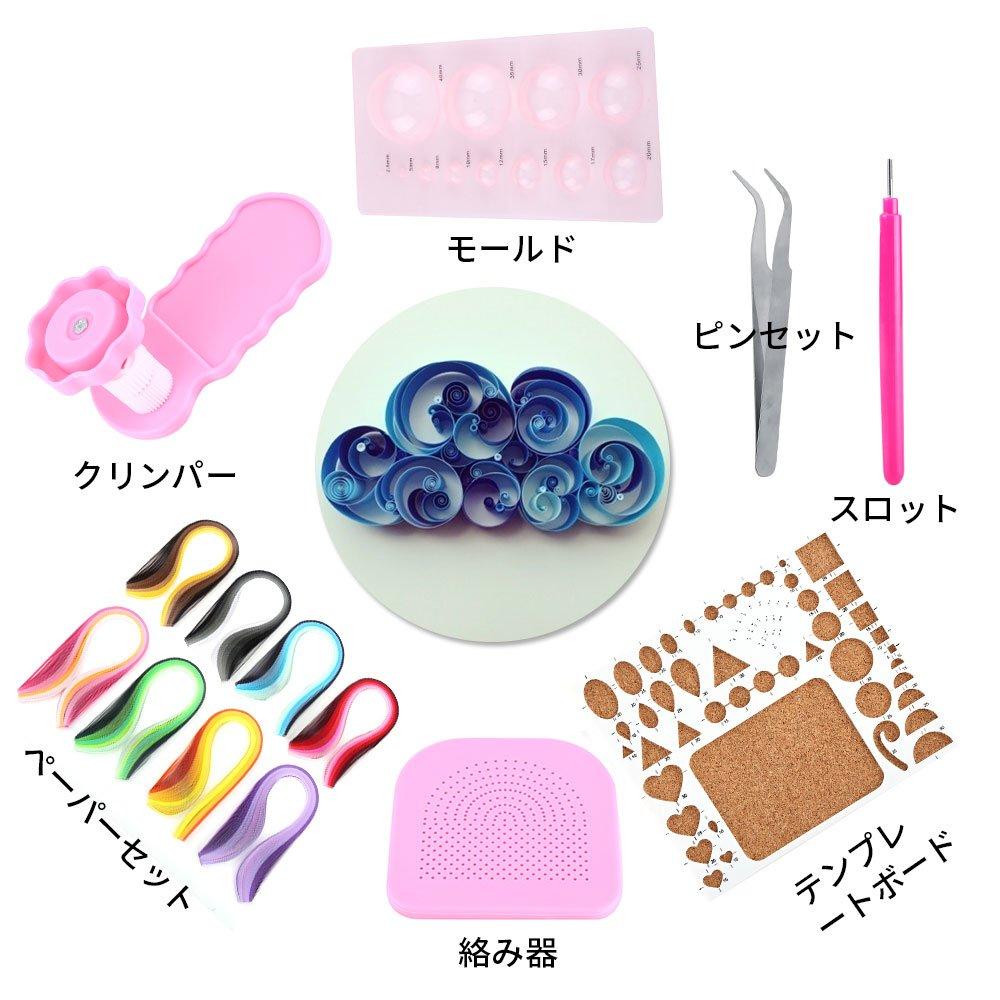
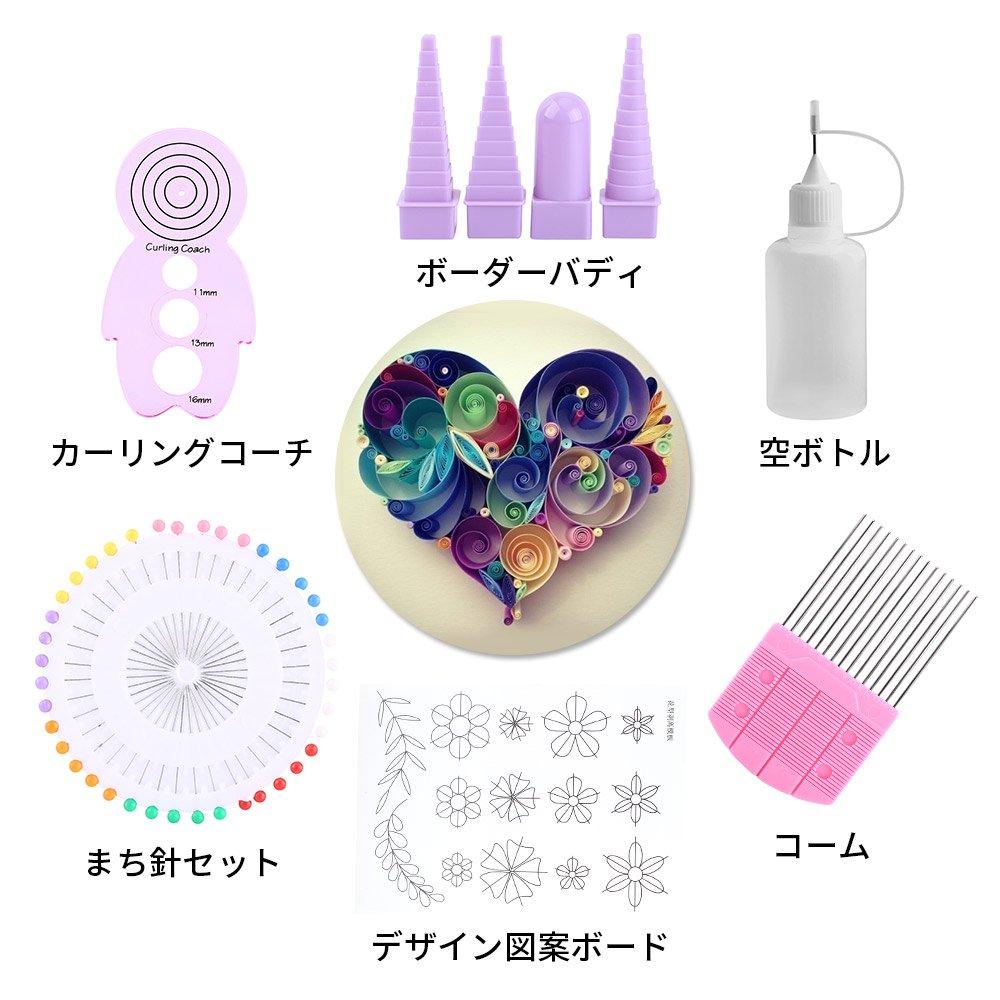
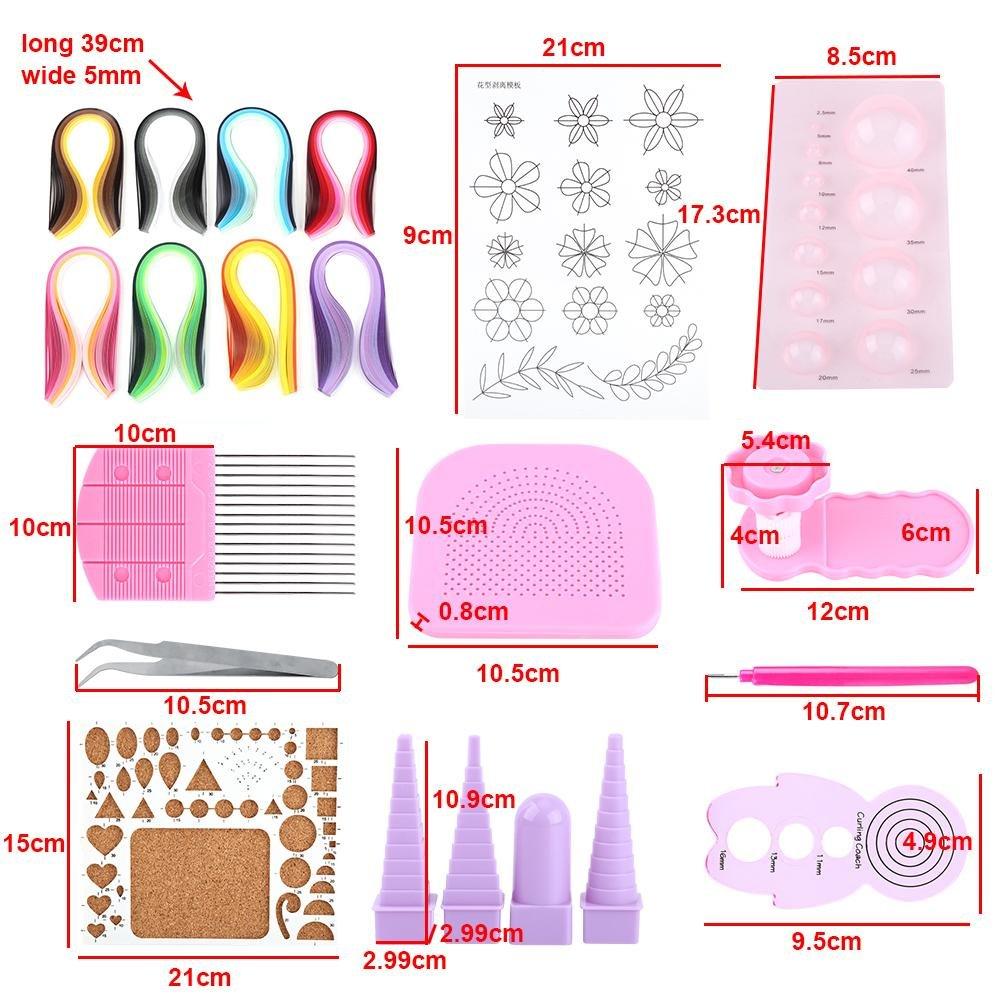
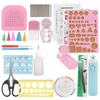
[Package contents] A paper quilling kit that includes a slot, tweezers, a pin set, a comb, a template board, a mold, a crimper, a curling coach, a border buddy set, an empty bottle, a entangler *1, and a design board. Quilling Board: Approx. 21 x 15 cm / 8.27" x 5.90" Curling Coach: Approx. 9.5 x 4.9 cm / 3.74" x 1.93" Quilling Border: Approx. 2.99 x 2.99 x 10.9 cm / 1.18" x 1.18" x 4.29" Quilling Comb: Approx. 10 x 10 cm / 3.94" x 3.94" Grid Guide: Approx. 10.5 x 10.5 x 0.8 cm / 4.13" x 4.13" x 0.31" Crimper: Approx. 12 x 6 cm / 4.72" x 2.36" Crimper Height: Approx. 4 cm / 1.57" Crimper Top Diameter: Approx. 5.4 cm / 2.12" 3D Mini mold: Approx. 17.3 x 8.5 cm / 6.81" x 3.35" Floral pattern: Approx. 21 x 9 cm / 8.27" x 3.54" Quilling pen: Approx. 10.7 cm / 4.2
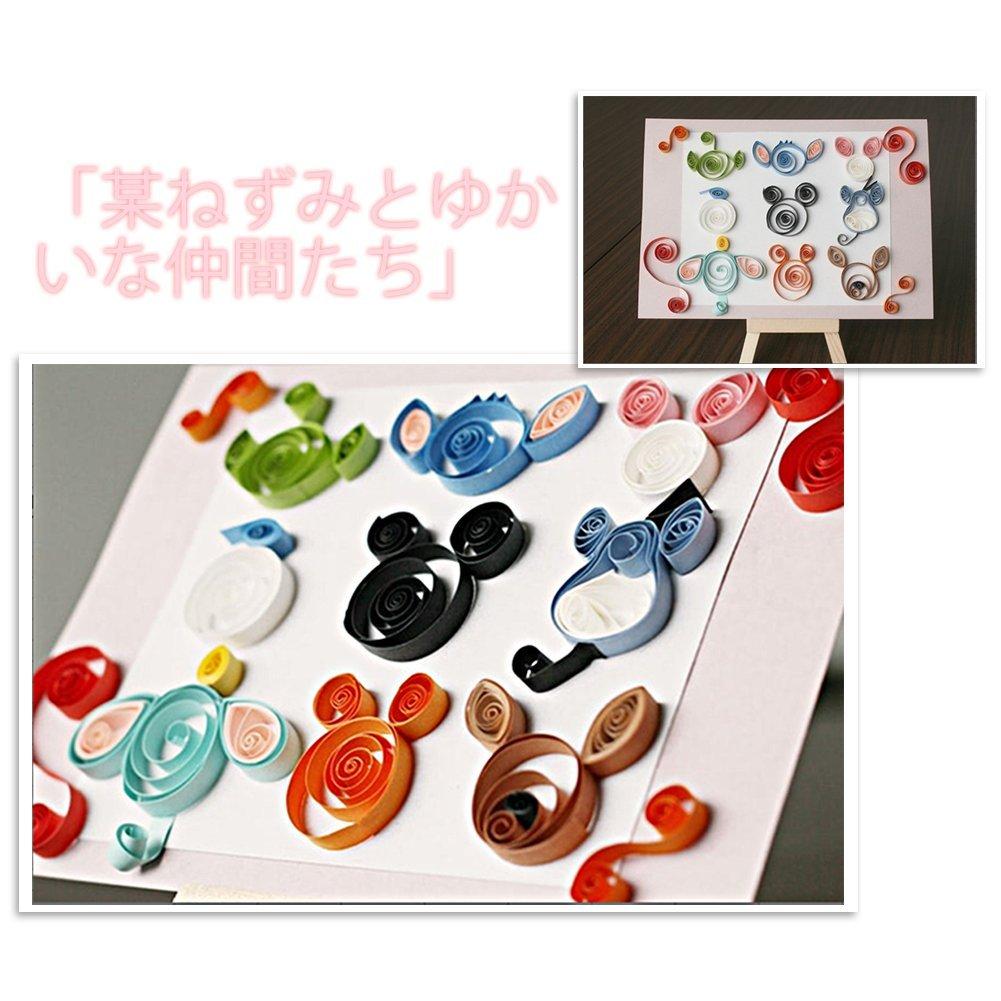
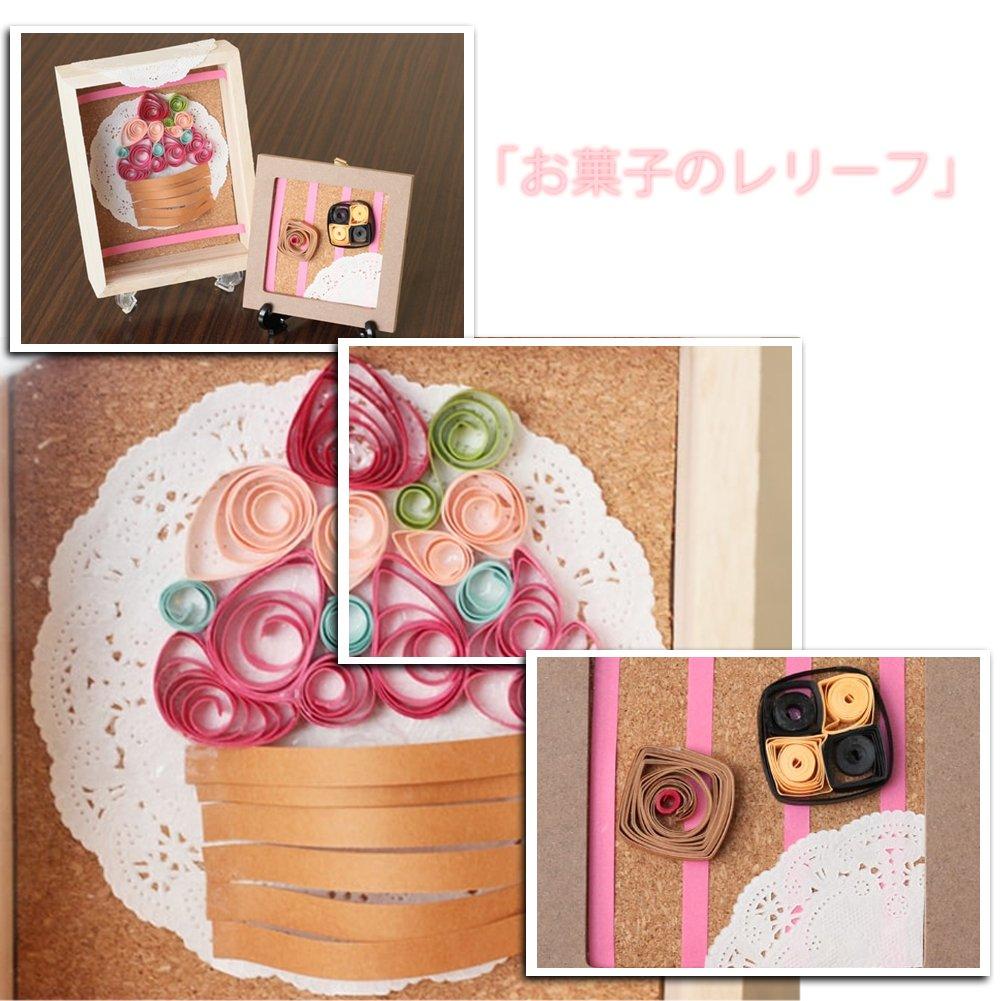
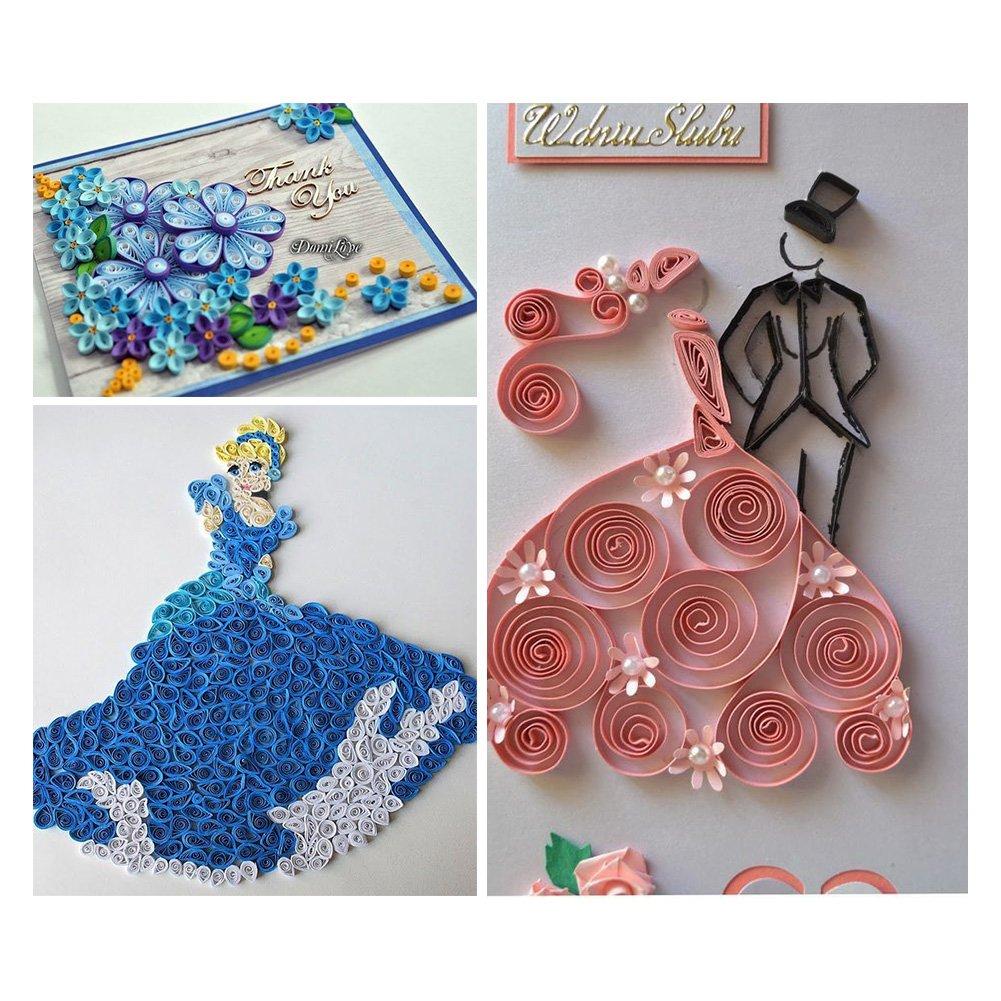
[Easy and fun paper crafts] This paper quilling tool lets you roll thin strips of paper into parts and then combine them to create a variety of works. This paper quilling rolling tool kit allows you to easily create original works of art, such as greeting card decorations and miniatures, depending on your ideas.
This quilling set is perfect for those who want to start wrapping paper but are unsure of what to get. Please note that as this is an imported product, there may be some imperfections such as scratches, burrs, or creases in the paper.
[How to make paper quilling] 1. Place the edge of the paper in the groove of the quilling bar. 2. Hold the paper with your index finger and roll it up. 3. Once you've finished rolling, tighten it up tightly and remove the quilling bar. 4. Shape the removed part into a loose or tight circle and secure the edge of the paper with glue.
[Easy even for beginners! Let's try paper quilling!] Paper quilling involves creating parts using strips of paper and combining these paper templates in various ways to create artwork. You can create colorful flowers, animals, insects, and more, and anyone can make simple pieces. Paper quilling also allows you to create artistic pieces if you're creative. The basic idea is to roll strips of paper to create parts and then combine them, but you can create a variety of works by changing how you roll them and the color of paper you use. Even people who aren't good at drawing can create artwork, so paper quilling is recommended for people who have given up on creating art because they're "clumsy" or "not good at drawing."


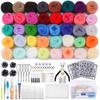
![Zestaw miniaturowych koralików żelaznych 48 kolorów. W zestawie instrukcja do zestawu startowego DX, jak tylko koraliki będą gotowe. [NicoRate] 2,6 mm „Specjalne przybycie” 26 000](https://img.joomcdn.net/378d9126d4bd92e1f9f2e4bfa1fcd5ab9e74bbcf_100_100.jpeg)