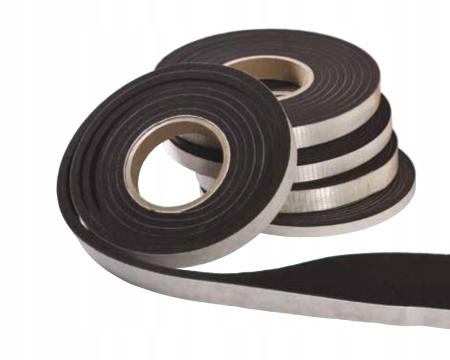
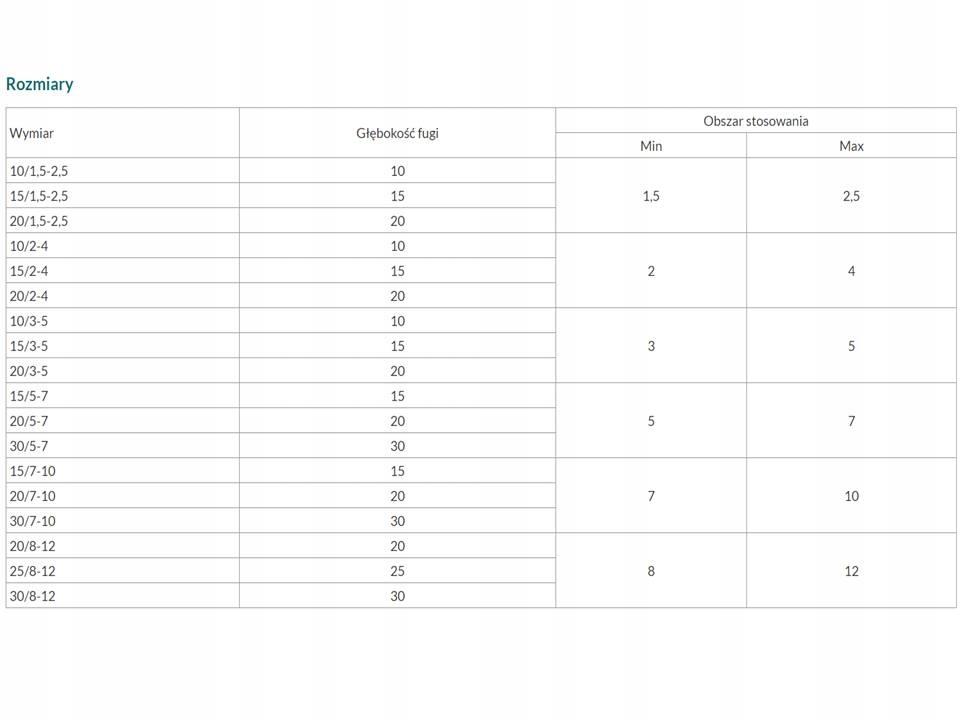
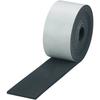
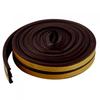
Expansion tape HANNOBANDWidth: 20mmThickness (after loosening): 28mmLength: 6mColor : BlackThe item for sale is the expansion tape Hannoband HBD20/5-7/28The expansion time of the tape depends on the temperature.The first dimension - e.g. 15 mm. determines the width of the tape. Second dimension e.g.. 2-4 or 5-7 specifies the recommended joint width between the window frame and the wall, while ensuring resistance to water penetration under a specific pressure. The third dimension is the total dimension after expansion. Proven quality, you don't risk your money. After expansion, the tapes reach a thickness much greater than recommended by the manufacturer for the given joint/gap.. Np. total dimension after expansion :2-4 - ok.15mm.3-5 - ok. 20mm5-7 - ok. 28mm.7-10 - ok. 39mm.8-12 - ok. 45mm.
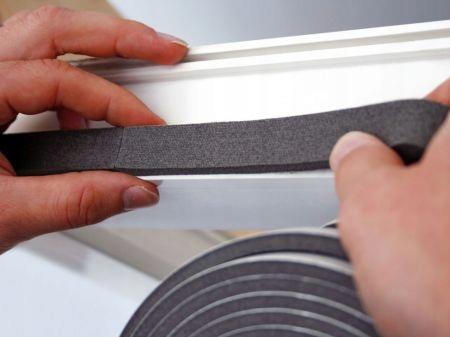
Sealing tape for joints made of soft polyurethane foam impregnated with acrylic and containing auxiliary substances and fillers. Product propertiesResistance to driving rain (DIN EN 1027) ≥ 300 Pa (meets the requirements of material group BG 2 for resistance to driving rain according to. DIN 18542:2009)Values ≤ 600 Pa are achievable, depending on the degree of tape compression and joint width. Application Area Window InstallationRainproof connectionsThermal sealing between the window frame and the wall, connections of system profile elements, joining of cover profiles, beading. Facade EngineeringSupport for concrete elementsFormwork joints during concreting Interior FinishingLightweight partition wallsSeparation of double floors Roofs/CeilingsRoof windowsRoof sealsRidges, Gutters, Dormers Method of Use / Installation InstructionsBefore applying and installing impregnated expansion tapes, the following instructions must be considered:■ Selection of mounting tape corresponding to the application and the given mounting situation (see also DIN 4108, Part 7).■ Correct selection of material class according to DIN 18542 (BG1, BG2, BG R).■ The compatibility of the tape with adjacent building materials must be met. ■ Select the correct expansion range of the tape, corresponding to the actual (max.) grout width. The manufacturer's recommendations regarding the scope of application should be taken into account, considering changes in dimensions dependent on temperature or possible movement of the building structure. ■ The expansion rate of the tape depends on the ambient temperature and the material (possible cooling or heating of the tape before application), as well as the production date of the tape.■ For aesthetic reasons, and to avoid the formation of gaps, install the tape with a reserve of 1 to 2 mm.■ Always cut off the first and last 2 cm of tape from the roll.Preparation of joints/substrate: The substrates/surfaces to which the tape is adhered must be smooth. Pollutants e.g.. mortar residues should be removed. Opposite joints should be as parallel as possible. (if necessary, the door frame should be smoothed or re-profiled e.g.. in old buildings). Recommendations regarding the joint width must not be exceeded, this also applies to unevenness. Application: Peel off ok. 20-30 cm of protective paper and insert the tape deep into the joint parallel to the edges, leaving an indentation of approx. 1-2 mm deep.. Press the tape with the adhesive layer onto the correct side of the grout (e.g. using a spatula). Unwind the tape piece by piece and gently press it onto the glued surface (secure the rest of the roll possibly with packing tape or a clip). Do not bend the tape under any circumstances! When using uncompressed tape strips, cut the tape with an excess of approx. 2-3 cm to the length of the joint and apply it to the appropriate substrate.. For a more secure connection, you can press the assembled elements with the tape between them onto the structure. (np. tightly). The applied pressure will determine the compression level of the tape and thus the tightness of the connection. Cross and transverse joints: When laying at cross joints, first lay the tape in the vertical joint, and in the remaining joints, lay the tapes from the outside towards the first joint.. At the same time, we gently press the ends of the tapes at the points where the edges of the tapes meet. Corners: To prevent leakage at the joint, never bend the tape at the corners; only lay it as shown in the drawing.. Laying short sections: Shorter sections of tape are laid down, pressing their edges together.. Do not twist and do not overlap the tapes!Different joint widths: In the case of highly varying joint widths, use tapes with different expansion ranges in a single joint.. The edges of the tapes should touch, never overlap. Wet or dusty joints: If the adhesive does not hold sufficiently on wet, dusty, or frosted joints, the tape can be pressed down in several places using wedges, and the wedges can be removed after the tape has fully expanded. Storage: The expiry date is 18 months from the date of manufacture. In a dry and cool place in original packaging at a temperature of +5 – +25°C. Store cartons only in an upright position (lying rollers). Transport individual rollers only in a horizontal position, one on top of the other. Avoid point pressure on the tape discs. Avoid shifting of tape layers on the roll. Rolls in open boxes should be pressed down to prevent uncontrolled unwinding of the tape.. Mechanical loads (especially perpendicular onto the lying roll and pressure on the edges of the roll) can lead to the slippage of individual layers of compressed tape and the so-called. telescoping roller.
TYPES OF EXPANSION TAPES HANNOBAND HBD


 No-delivery refund







![Tomoya Strong Anisotropic Magnetic Tape [2mm Thick X 50mm Wide X 5m Long]](https://img.joomcdn.net/61949ed3b25c8c74b52209d0f8c545c27ae53b44_100_95.jpeg)